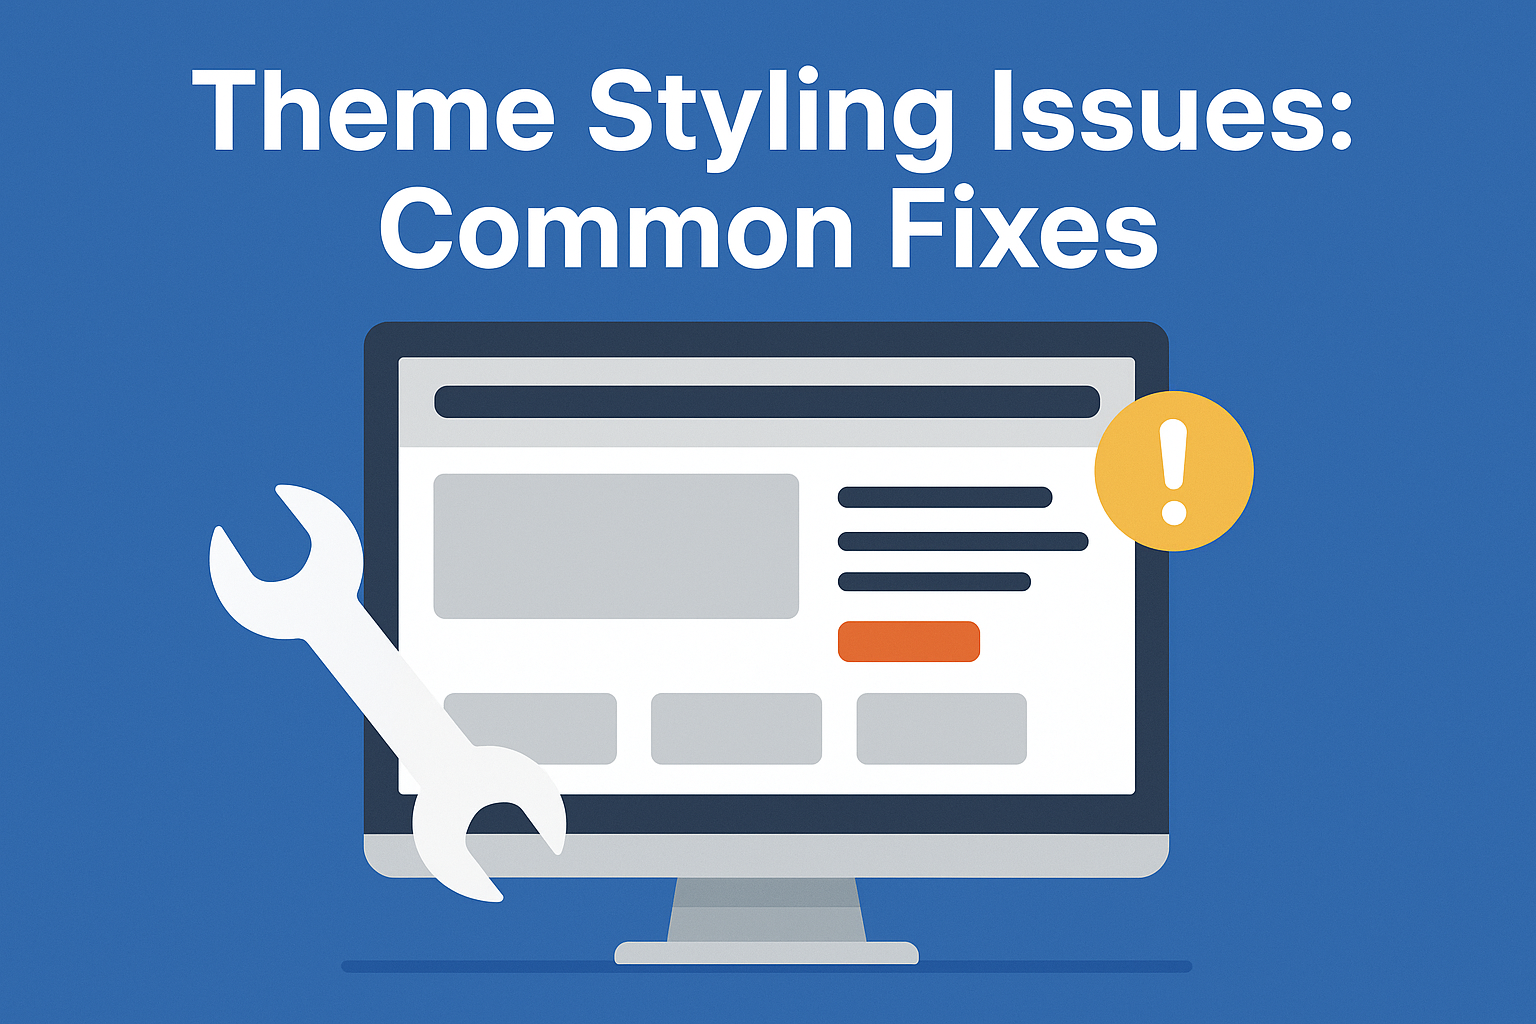
Updating your WordPress theme is a routine maintenance task that helps keep your website secure and ensures you have access to the latest features. However, sometimes after a theme update, you may notice that your website’s layout is broken, with elements out of place, incorrect styling, or even missing components. This issue can be frustrating, especially if you’re not familiar with coding or web development. Fortunately, fixing broken layouts after a WordPress theme update is often a straightforward process. In this article, we’ll explore the common causes of this issue and provide step-by-step solutions to get your website back to its normal state.
What Causes This Issue
There are several reasons why your WordPress website’s layout might break after a theme update. One common cause is incompatible template files. When theme developers update their themes, they often modify the template files to include new features or improve existing ones. If your website uses custom template files that are not updated to match the new theme version, conflicts can arise, leading to a broken layout. Another cause is outdated plugins that are not compatible with the latest theme version. When plugins are not updated, they may not work correctly with the new theme, causing layout issues.
Common Root Causes
Some other common root causes of broken layouts after a WordPress theme update include:
- CSS conflicts: When the theme update introduces new CSS styles that conflict with existing styles, it can cause layout issues.
- JavaScript errors: JavaScript errors can prevent certain elements on your website from loading correctly, leading to a broken layout.
- PHP version compatibility: If your website’s PHP version is not compatible with the theme update, it can cause issues with the layout.
Step-by-Step Solutions
To fix a broken layout after a WordPress theme update, follow these steps:
- Check the theme’s changelog: Before updating your theme, always check the changelog to see what changes have been made. This can help you identify potential issues and prepare for them.
- Update all plugins: Make sure all your plugins are up-to-date, as outdated plugins can cause conflicts with the new theme version.
- Check for custom template files: If you’re using custom template files, check if they need to be updated to match the new theme version. You can do this by comparing your custom files with the updated theme files.
- Use the theme’s built-in debugging tools: Many WordPress themes come with built-in debugging tools that can help you identify and fix issues. Check your theme’s documentation to see if such tools are available.
Manually Fixing CSS Conflicts
If you’ve identified CSS conflicts as the cause of your broken layout, you can try manually fixing them. To do this, you’ll need to inspect the CSS code and identify the conflicting styles. You can use the browser’s developer tools to inspect the CSS code.
/* Example of conflicting CSS styles */
.example-class {
  width: 100px; /* New theme style */
}

.example-class {
  width: 200px; /* Custom style that conflicts with the new theme style */
}
To fix the conflict, you can modify the custom style to override the new theme style. For example:
/* Modified custom style that overrides the new theme style */
.example-class {
  width: 200px !important;
}
Prevention Tips
To prevent broken layouts after a WordPress theme update, follow these tips:
- Regularly update your plugins and theme: Keeping your plugins and theme up-to-date can help prevent compatibility issues.
- Use a child theme: Using a child theme can help you customize your website without modifying the parent theme, reducing the risk of conflicts when the parent theme is updated.
- Test updates on a staging site: Before updating your live website, test the updates on a staging site to identify any potential issues.
In conclusion, fixing broken layouts after a WordPress theme update requires patience and a systematic approach. By understanding the common causes of this issue and following the step-by-step solutions outlined in this article, you can get your website back to its normal state. Remember to always check the theme’s changelog, update all plugins, and use the theme’s built-in debugging tools to identify and fix issues. By following the prevention tips outlined in this article, you can minimize the risk of broken layouts and ensure a smooth updating process.