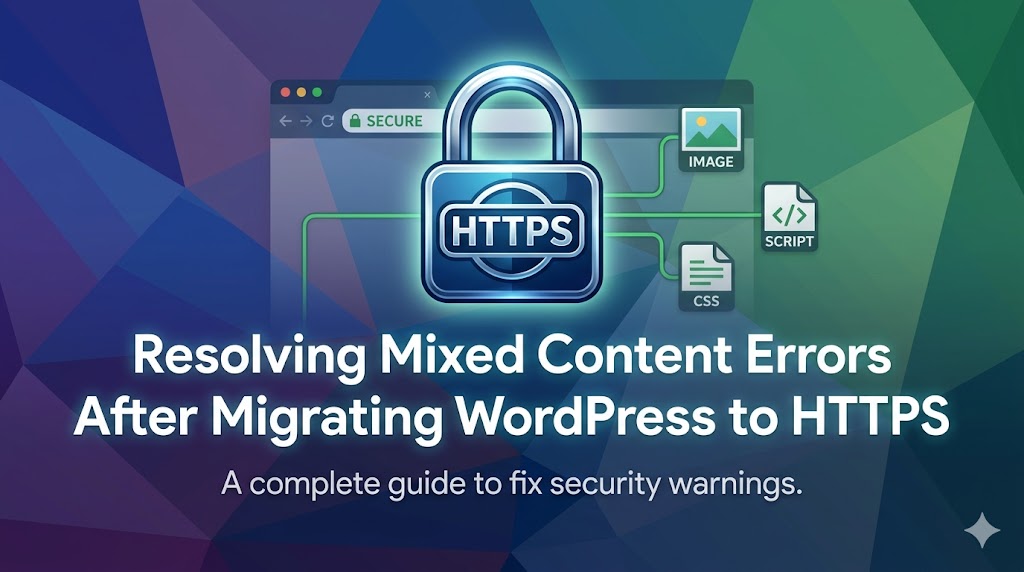
You’ve installed an SSL certificate and moved your WordPress site to HTTPS, but the padlock is missing, the browser says “Not secure”, or parts of the page have lost their styling. That’s mixed content: the page itself loads over HTTPS, but some of the images, stylesheets, scripts, or embeds it uses are still requested over plain http://.
It’s a different problem from the full-page “Your connection is not private” warning, which means the certificate itself has a problem (see our SSL certificate guide for that). Mixed content means the certificate is fine, and the old http:// links are the problem.
What Browsers Do With Mixed Content
Modern browsers treat the two kinds of mixed content differently:
- Images, audio, and video loaded over HTTP are automatically upgraded to HTTPS by Chrome and other current browsers. If the file exists at the HTTPS address, it loads. If not, it’s blocked and appears broken.
- Scripts, stylesheets, iframes, fonts, and requests made by JavaScript are blocked outright. That’s why a mixed content problem can leave a page unstyled, break menus and sliders, or stop forms from working.
Either way, the browser may show the site as not fully secure until every resource loads over HTTPS.
Step 1: Find the Insecure Resources
Open the affected page, press F12, and look in the Console tab. Each mixed content problem gets its own message, with the exact URL:
Mixed Content: The page at 'https://example.com/' was loaded over HTTPS, but requested an insecure image 'http://example.com/wp-content/uploads/2024/05/photo.jpg'. This request has been automatically upgraded to HTTPS...

Mixed Content: The page at 'https://example.com/' was loaded over HTTPS, but requested an insecure script 'http://example.com/wp-content/themes/mytheme/js/menu.js'. This request has been blocked; the content must be served over HTTPS.
The URL tells you where to look next:
- Your own domain with
/wp-content/uploads/: links stored in your content or settings in the database. See Step 3. - Your own domain with
/wp-content/themes/or/plugins/: a hard-coded URL in a theme or plugin. See Step 4. - Another website’s domain: a third-party resource. See Step 5.
Check a few different page types, such as the homepage, a post, and a page built with your page builder, because each may pull resources from different places. You can also view the page source (Ctrl+U) and search for http://.
Step 2: Set Both Site Addresses to HTTPS
Go to Settings → General and make sure WordPress Address (URL) and Site Address (URL) both start with https://. WordPress uses these to build the URLs of your theme files, scripts, and new uploads, so if they still say http://, almost everything on the page is affected. If the fields are greyed out, they’re set in wp-config.php with WP_HOME and WP_SITEURL. Change them there.
Step 3: Update Old Links in the Database
Changing the site address doesn’t touch links already saved in your posts, pages, widgets, and plugin settings. Those still say http:// and need a search and replace across the database.
Back up the database first. Then use a tool that handles serialized data, which WordPress uses for widgets and many plugin settings. A plain SQL REPLACE query can corrupt that data.
With the Better Search Replace plugin
- Go to Tools → Better Search Replace.
- Search for
http://example.comand replace withhttps://example.com, using your own domain, and the same www choice you use in Settings → General. - Select all tables, keep Run as dry run ticked, and run it to see how many changes it would make.
- Untick dry run and run it for real.
With WP-CLI
wp search-replace 'http://example.com' 'https://example.com' --all-tables --skip-columns=guid --dry-run
wp search-replace 'http://example.com' 'https://example.com' --all-tables --skip-columns=guid
The first command shows what would change, and the second makes the changes. Skipping the guid column is standard practice, since it’s an internal identifier rather than a link.
If you use a page builder, check its own tools too. Elementor, for example, has Elementor → Tools → Replace URL and a regenerate option for its CSS files.
Step 4: Fix Hard-Coded URLs in Themes and Plugins
If the Console points to a file in your theme or a plugin, the URL is written directly into code. In a custom or child theme, search its files for http:// and use WordPress functions that build the correct URL instead:
// Instead of: <script src="http://example.com/wp-content/themes/mytheme/js/menu.js"></script>
wp_enqueue_script( 'mytheme-menu', get_stylesheet_directory_uri() . '/js/menu.js', array(), '1.0', true );

// Instead of: <img src="http://example.com/wp-content/themes/mytheme/images/logo.png">
<img src="<?php echo esc_url( get_stylesheet_directory_uri() . '/images/logo.png' ); ?>" alt="Logo">
These functions follow your site address, so they switch to HTTPS automatically. For a third-party plugin or theme, update it, or report the hard-coded URL to its developer.
Step 5: Replace Insecure Third-Party Resources
If the insecure URL belongs to another website, such as an old embed, a font, a badge, or an analytics script, check whether the same resource is available at https://. Almost every service supports HTTPS now. Update the link, and if a resource is only available over HTTP, remove it or find an alternative.
Step 6: Add a Safety Net (Optional)
Once the real fixes are done, you can tell browsers to upgrade any remaining http:// requests automatically. On Apache or LiteSpeed, add this to .htaccess:
<IfModule mod_headers.c>
Header always set Content-Security-Policy "upgrade-insecure-requests"
</IfModule>
This only works when the resource also exists at HTTPS, and it doesn’t clean up the old links themselves. Treat it as a backstop, not a substitute for Steps 2 to 5. Plugins that rewrite http:// to https:// on every page load work the same way: convenient, but the old URLs are still in your database.
Step 7: Clear Caches and Check Again
Purge your caching plugin, your host’s cache, and your CDN, then reload the page in a private window with the Console open. When no Mixed Content messages are left, the padlock returns. Check a few different pages, and test forms and menus that may load resources only when used.
Summary
Mixed content means an HTTPS page is still loading some resources over HTTP. Read the exact URLs in the browser Console, set both site addresses to https://, run a serialization-safe search and replace on the database, fix hard-coded URLs in themes and plugins, and update third-party links. Then purge every cache. For redirect problems while switching to HTTPS, see our too many redirects guide.