WordPress already ships with React. The block editor is built on it, and WordPress makes the same copy available to your own code as the wp-element script. That means you can build interactive widgets, admin screens, and custom blocks in React without bundling a second copy, and without turning your site into a separate “headless” application.
This guide shows the standard setup: building with @wordpress/scripts, loading the result correctly from a plugin, fetching data from the REST API, and the mistakes that cause most problems. If you want React to replace your theme entirely, see our headless WordPress guide instead.
What You Need
- Node.js and npm installed on your computer.
- A local WordPress site to develop on, for example with Local.
- A plugin folder for your code. A plugin, not your theme, keeps the feature working if the theme changes.
Step 1: Set Up the Build Tools
Create a plugin folder such as wp-content/plugins/my-react-app/, open a terminal in it, and run:
npm init -y
npm install @wordpress/scripts --save-dev
Add build commands to the "scripts" section of package.json:
"scripts": {
    "build": "wp-scripts build",
    "start": "wp-scripts start"
}
@wordpress/scripts is the official build setup used by WordPress itself. It compiles JSX and modern JavaScript, and it does one very useful extra thing: instead of bundling React and other WordPress packages into your file, it points them at the copies WordPress already loads, and writes the list of what your script needs into a small PHP file.
Step 2: Write the React Code
Create src/index.js:
import { createRoot, useState } from '@wordpress/element';

function Counter() {
    const [ count, setCount ] = useState( 0 );

    return (
        <button onClick={ () => setCount( count + 1 ) }>
            Clicked { count } times
        </button>
    );
}

document.querySelectorAll( '.my-react-app' ).forEach( ( el ) => {
    createRoot( el ).render( <Counter /> );
} );
Then run npm run build. It creates build/index.js and build/index.asset.php. While developing, npm run start rebuilds automatically every time you save.
Step 3: Load It From the Plugin
Create my-react-app.php in the plugin folder. This adds a [my_react_app] shortcode that outputs the container and loads the script:
<?php
/**
 * Plugin Name: My React App
 */

add_shortcode( 'my_react_app', function () {
    $asset = include plugin_dir_path( __FILE__ ) . 'build/index.asset.php';

    wp_enqueue_script(
        'my-react-app',
        plugins_url( 'build/index.js', __FILE__ ),
        $asset['dependencies'],
        $asset['version'],
        true
    );

    return '<div class="my-react-app"></div>';
} );
Activate the plugin and add [my_react_app] to any page.
The asset file is the key part. $asset['dependencies'] tells WordPress to load wp-element (and anything else you imported) before your script, and $asset['version'] changes whenever the build changes, so browsers and caches always get the new file. Loading the script in the footer (true) means the container already exists when the script runs.
Fetching Data From WordPress
Use @wordpress/api-fetch for REST API requests. When WordPress loads it, it’s already configured with your site’s API address and, for logged-in users, a security nonce, so authenticated requests work without extra setup:
import apiFetch from '@wordpress/api-fetch';

apiFetch( { path: '/wp/v2/posts?per_page=5' } ).then( ( posts ) => {
    console.log( posts );
} );
For data that PHP already has, pass it to the script when you enqueue it, instead of making an extra request:
wp_add_inline_script(
    'my-react-app',
    'window.myReactAppData = ' . wp_json_encode( array( 'siteName' => get_bloginfo( 'name' ) ) ) . ';',
    'before'
);
Other Places to Use React
Custom blocks
Run npx @wordpress/create-block@latest my-block to generate a complete block plugin, with a block.json, an editor component, and the same build setup. Its main PHP file registers the block with register_block_type( __DIR__ . '/build' ). This is the recommended way to build blocks.
Admin pages
Add a page with add_menu_page() that outputs an empty <div>, and enqueue your script on admin_enqueue_scripts, checking the hook name so it loads only on your page. The @wordpress/components package gives you the same buttons, panels, and form controls WordPress uses, so your screen matches the rest of the admin.
Common Problems
- “Invalid hook call” or two copies of React: you’re bundling your own React as well as WordPress’s. Import from
@wordpress/element(orreact, which@wordpress/scriptsalso maps to WordPress’s copy), build withwp-scripts, and don’t load React from a CDN. - A fatal error mentioning
index.asset.php: the build hasn’t been run, or thebuildfolder wasn’t uploaded. Runnpm run buildand uploadbuild/along with the PHP file. You don’t need to uploadnode_modules. - Nothing renders, with no error: the container isn’t on the page, or the script ran before it existed. Check that the shortcode output is present in the page source, and that the script loads in the footer.
- REST requests return 401 or 403: the user isn’t logged in or lacks permission, or a security plugin is blocking the request. See our “not a valid JSON response” guide for reading the failed request.
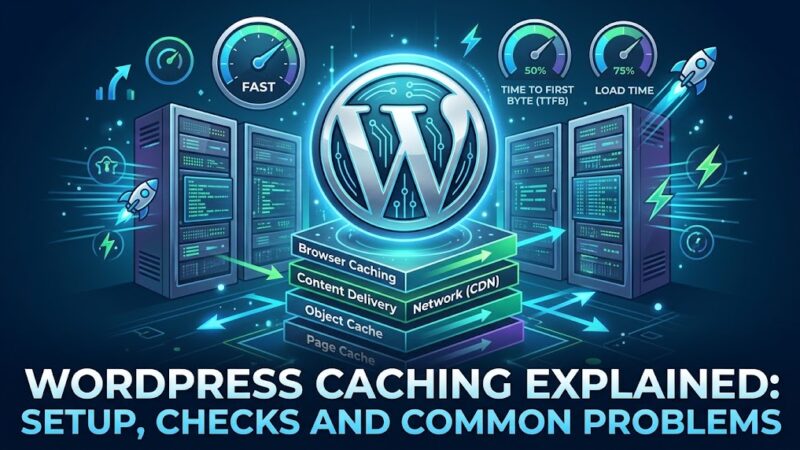
- Changes don’t appear: rebuild, then purge your caches. The version from the asset file normally takes care of browser caching. See our caching guide.
JavaScript errors appear in the browser Console, not in debug.log. Our guide to plugin conflicts covers reading them.
Summary
Use WordPress’s own copy of React through @wordpress/element, build with @wordpress/scripts, and load the result from a plugin using the dependencies and version in index.asset.php. Fetch data with @wordpress/api-fetch, pass PHP data with wp_add_inline_script(), and use @wordpress/create-block for custom blocks. Never load a second copy of React.