Caching is the biggest single speed improvement most WordPress sites can make. It’s also behind a large share of “my changes aren’t showing” and “this works for me but not for visitors” problems. Both come from the same thing: a saved copy being served instead of a fresh one.
This guide explains the different kinds of caching, how to set up the ones that matter, how to check they’re working, and how to fix the problems they cause.
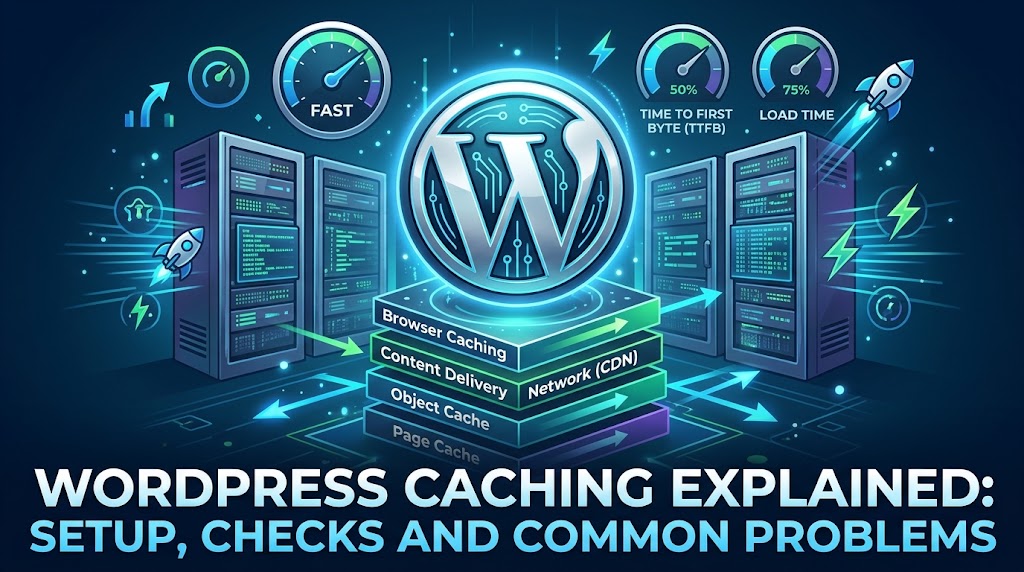
The Layers of Caching
“Caching” on a WordPress site usually means several different things at once:
- Page cache: stores the finished HTML of each page, so WordPress doesn’t have to run PHP and query the database for every visitor. This is the one that makes the biggest difference.
- Object cache: stores the results of database queries in memory. WordPress has one built in, but it’s cleared after every request. A persistent object cache such as Redis or Memcached keeps the results between requests, which helps logged-in users, WooCommerce, and busy sites.
- Browser cache: tells visitors’ browsers to keep images, CSS, and JavaScript locally, so repeat visits load faster.
- CDN cache: copies of your files, and sometimes whole pages, stored on servers around the world, such as Cloudflare’s.
- OPcache: PHP’s own cache of compiled code. Your host normally handles this, and you rarely need to touch it.
Setting Up Page Caching
Check what your host already provides before installing anything. Tools → Site Health reports whether it detects a page cache, and many hosts cache pages at the server level already.
- On LiteSpeed hosting, use the free LiteSpeed Cache plugin. It controls the server’s built-in cache, which is faster than any PHP-based cache.
- On managed WordPress hosting with its own cache, use the host’s system and don’t add a caching plugin unless they recommend one.
- Elsewhere, use one established plugin: WP Super Cache (simple and free), W3 Total Cache, or WP Rocket (paid, easiest to configure).
Use only one page cache. Two caching plugins, or a plugin on top of a host cache that doesn’t expect it, cause stale pages and odd errors. Remove a caching plugin cleanly through its own settings and deactivation, because some leave drop-in files behind that can break the site (see our white screen guide).
The default settings of any of these plugins are a sensible start. They already skip caching for logged-in users and for pages that must stay dynamic.
Checking That Pages Are Cached
Open your site in a private window, so you’re logged out, open DevTools (F12) → Network, reload the page twice, and click the first request. Look at the response headers:
x-litespeed-cache: hitmeans LiteSpeed served the cached page.cf-cache-status: HITmeans Cloudflare served it.- Many other caches send
x-cache: HITor a similar header, or add an HTML comment at the bottom of the page source.
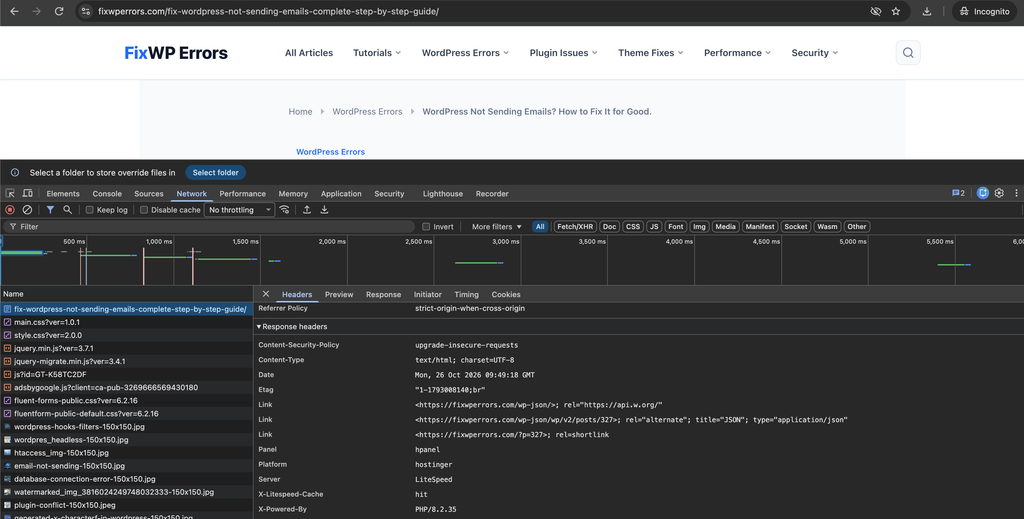
A MISS on the first load followed by a HIT on the second is exactly right. Always MISS means something is preventing caching. The usual culprits are a plugin setting cookies on every page, or query strings in the URL.
Adding an Object Cache
If your site has many logged-in users, a WooCommerce store, or heavy admin pages, ask your host whether Redis or Memcached is available. Most caching plugins and hosts can connect WordPress to it. Site Health recommends a persistent object cache when it thinks your site would benefit. On a small, mostly-static blog, page caching is usually enough.
What Must Never Be Cached
Good caching plugins exclude these automatically, but check them if you use a CDN or custom rules:
- Pages for logged-in users.
- WooCommerce cart, checkout, and My Account pages, and anything that shows per-visitor content.
- Admin pages and
wp-login.php. - REST API and AJAX requests, such as
/wp-json/andadmin-ajax.php.
Caching any of these shows one visitor’s data to others, or breaks forms and carts. See our WooCommerce checkout guide for store-specific problems.
Fixing Common Caching Problems
Changes don’t appear
Purge the cache after editing. Most caching plugins purge the edited page automatically when you update it, but changes to menus, widgets, and theme settings often need a full purge. Then purge your host’s cache and your CDN too. If CSS or JavaScript changes don’t show, see our CSS not loading guide.
Forms fail with “link expired” or security check errors
WordPress protects forms with security tokens called nonces, which expire after 12 to 24 hours. If a page with a form stays in the cache longer than that, visitors get an expired token, and submissions fail. Set the page cache lifetime under about 10 hours, or use a form plugin that refreshes its token when the page loads.
Visitors see the wrong version
If mobile visitors get the desktop layout or the reverse, your theme serves different HTML to each, and needs a separate mobile cache. Turn that option on in your caching plugin. If visitors see content meant for someone else, stop and check your exclusion rules immediately.
The site broke after turning on optimization
Minify, combine, defer, and “remove unused CSS” features are separate from caching and cause most caching-plugin breakage. Turn them off, confirm the site works with page caching alone, then enable optimization features one at a time.
Summary
Page caching gives the biggest speed gain: use your host’s cache or one caching plugin, never two. Check for a HIT in the response headers, add Redis or Memcached for dynamic and logged-in traffic, and make sure carts, checkouts, accounts, and logged-in users are never cached. When something looks wrong, purge every layer first, and keep page cache lifetimes short enough for forms to work. Our speed guide covers what to do after caching.