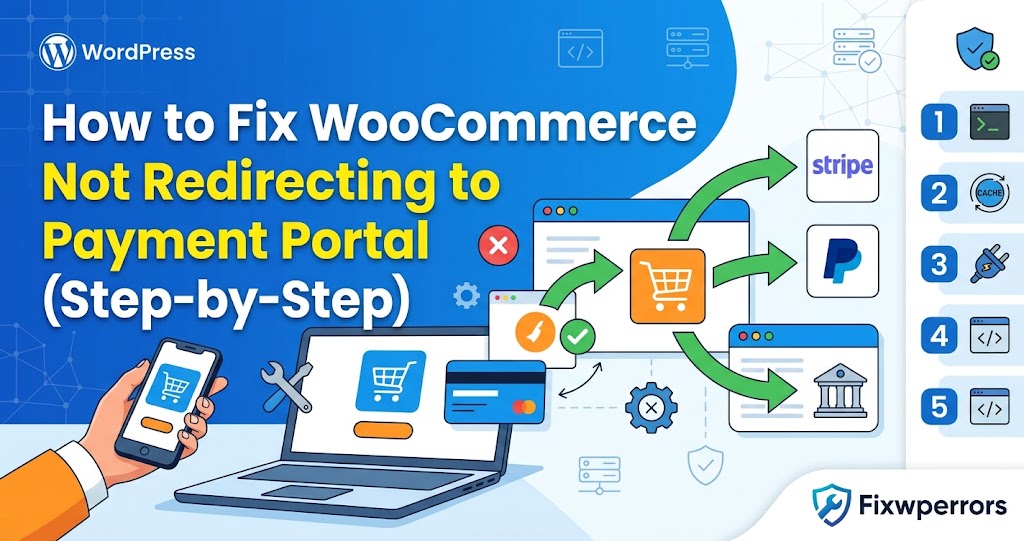
A customer fills in the checkout form, clicks Place Order, and nothing happens. The button spins forever, the page reloads back to the checkout, or a vague error appears. They never reach Stripe, PayPal, or your payment provider’s page, and you never get the order.
A broken checkout costs money every hour it stays broken, so this guide goes straight to the checks that find the cause fastest.
How WooCommerce Checkout Works
Knowing the sequence makes the problem much easier to find. When the customer clicks Place Order:
- JavaScript sends the form data to your server in the background, without reloading the page.
- WooCommerce validates the order, creates it, and asks the payment gateway plugin to process it.
- The server replies with a small JSON message containing either an error or the URL to redirect to: the payment provider’s page or your thank-you page.
- JavaScript reads that reply and sends the customer to the URL.
The redirect fails when any step breaks: the script never sends the request, the request is blocked or cached, the server crashes or rejects it, or the reply isn’t valid JSON. Steps 1 and 2 below show you which.
WooCommerce has two checkout types. The classic checkout (the [woocommerce_checkout] shortcode) sends its request to ?wc-ajax=checkout. The newer Checkout block, the default for stores set up in recent versions, sends it to the Store API at /wp-json/wc/store/v1/checkout. Knowing which one you use tells you which request to look for.
Step 1: Check the Browser Console
- Open your checkout page in a private window and add a product to the cart.
- Press F12 and open the Console tab.
- Fill in the checkout using your gateway’s test mode or a real low-value order, and click Place Order.
Red errors such as Uncaught TypeError or jQuery(...).block is not a function mean a script on the page broke, and the checkout code never ran. The file named in the error usually belongs to the plugin or theme responsible: popups, chat widgets, custom field plugins, and script optimization features are common culprits.
Step 2: Read the Server’s Reply
If the Console is clean, look at what the server sent back:
- Switch to the Network tab and click the Fetch/XHR filter.
- Click Place Order again.
- Find the request to
?wc-ajax=checkout(classic) or/wc/store/v1/checkout(block), and note its status code. - Open its Response tab.
A working classic checkout returns something like:
{
  "result": "success",
  "redirect": "https://checkout.example-gateway.com/..."
}
The block checkout returns a longer JSON reply that includes a payment result and a redirect URL. What to do with what you find:
- A failure message in the JSON: WooCommerce or the gateway rejected the order. The message, or the gateway log in Step 6, says why.
- 403, or a page from a firewall or Cloudflare: the request was blocked. See Step 4.
- 500 or 502: PHP crashed while processing the order. Check
debug.logand WooCommerce’sfatal-errorslog (Step 6). - An HTML page, or JSON with a PHP warning in front of it: the reply isn’t valid JSON. The causes are the same as for the block editor’s JSON error: see our “not a valid JSON response” guide.
- No request at all: JavaScript stopped before sending it. Go back to Step 1.
Step 3: Make Sure Checkout Isn’t Cached
Cart, checkout, and account pages are different for every customer, so they must never be served from a cache. WooCommerce tells caching plugins not to cache them, and well-known plugins such as LiteSpeed Cache and WP Rocket exclude them automatically. Problems usually come from:
- A CDN or host cache that ignores those signals. In Cloudflare, add a Cache Rule that bypasses the cache for
/cart/,/checkout/,/my-account/, and URLs containingwc-ajax. If your checkout page uses a different slug, use that. - Script optimization. Features that delay, defer, or combine JavaScript, and Cloudflare’s Rocket Loader, frequently break checkout and payment scripts. Exclude the checkout page from them, or turn them off to test.
After any change, purge every cache and test in a private window.
Step 4: Check for Blocked Requests
Security plugins, your host’s firewall (often ModSecurity), and Cloudflare can block the checkout request, especially the REST API requests that the Checkout block and many gateways depend on. To check that the REST API is reachable at all, open https://yourdomain.com/wp-json/ in your browser. You should see a page of JSON text. A 403, a 404, or a challenge page means something is in the way:
- Check your security plugin’s firewall log for blocked requests at the time of your test order, and whitelist that rule for checkout.
- In Cloudflare, check Security → Events for blocked requests to
/wp-json/orwc-ajax. - Ask your host to check their firewall logs for the time of the test order.
- If
/wp-json/returns a 404, go to Settings → Permalinks and click Save Changes.
Our 403 Forbidden guide covers each of these in more detail.
Step 5: Check the Payment Gateway Settings
Under WooCommerce → Settings → Payments, open your gateway and check:
- Test vs live mode. Test-mode keys don’t work in live mode, and the reverse. Make sure the mode and the keys match.
- API keys. Keys can expire, be regenerated in the provider’s dashboard, or belong to the wrong account. Paste them in again from the provider’s dashboard.
- Webhooks. Most gateways use webhooks to tell WooCommerce a payment succeeded. If the webhook URL in the provider’s dashboard is missing or failing, payments can go through while orders stay “pending”. Most providers show recent webhook failures in their dashboard.
- Currency and country. The gateway must support your store’s currency and the customer’s country.
Step 6: Read the WooCommerce Logs
Turn on debug logging in your gateway’s settings if it has the option, place a test order, then go to WooCommerce → Status → Logs. Open the log for your gateway (its name usually starts with the gateway, such as stripe or paypal) and the fatal-errors log. Look for entries marked error or critical around the time of your test. They usually state the exact reason, such as an authentication failure or a rejected request.
Step 7: Test for Plugin and Theme Conflicts
If nothing above explains it, another plugin or the theme is interfering. To test without taking the live store down, use the Health Check & Troubleshooting plugin:
- Install it and go to Tools → Site Health → Troubleshooting.
- Enable troubleshooting mode. Plugins are disabled only for your logged-in session, while customers see the normal store.
- Enable WooCommerce and your payment gateway, and switch to a default theme such as Storefront.
- Test checkout. If it works, re-enable plugins one at a time until it breaks.
Our guide to diagnosing plugin conflicts has more on this process.
Keeping Checkout Working
- Test the full checkout on a staging copy before updating WooCommerce, your gateway plugin, or your theme, and place a real test order after updating the live store.
- Keep your gateway plugin updated. Payment providers change their APIs, and outdated plugins eventually stop working.
- Watch your gateway’s dashboard for webhook failures, and make sure your SSL certificate renews on time.
- Never enable page caching or script optimization on cart and checkout pages.
Summary
Checkout redirects fail when the background request breaks. Check the Console for JavaScript errors, then read the checkout request’s status and response in the Network tab. From there, exclude checkout from caching and script optimization, unblock the REST API and wc-ajax requests, check gateway mode, keys, and webhooks, and read the WooCommerce logs for the exact error.